


01
THE PROCESS
How to Mould Your Shinplex™
Three steps. Heat the shin guard for 2 minutes. A true one-of-one contour that locks to your shin.
MOULDING WALKTHROUGH · 2:14
02
THREE STEPS
A One-of-One Fit.
01
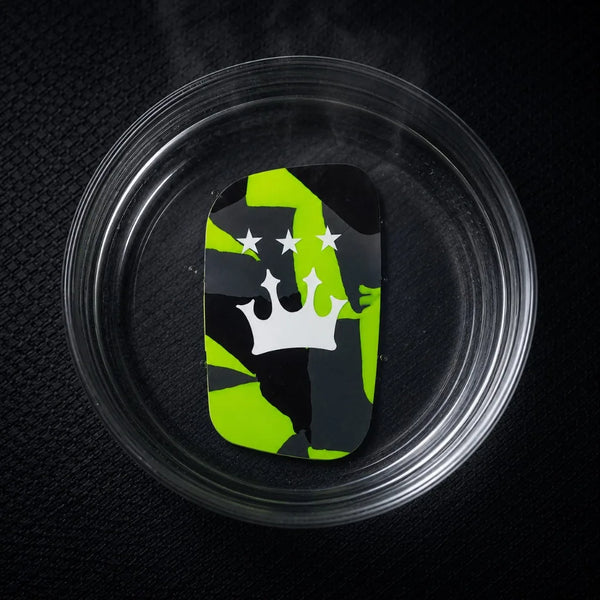
Heat
Place your Shinplex™ in hot water for 2 minutes until they become soft.
02
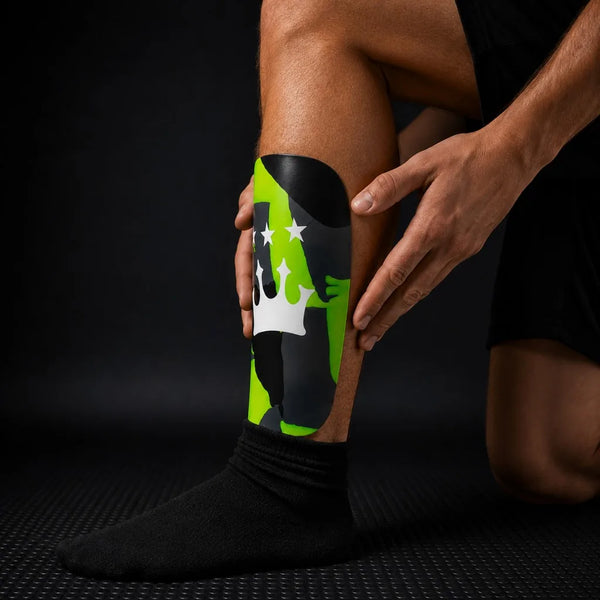
Mould
Use a light press on the shin until the pad has solidified. Do not stretch or press hard.
03
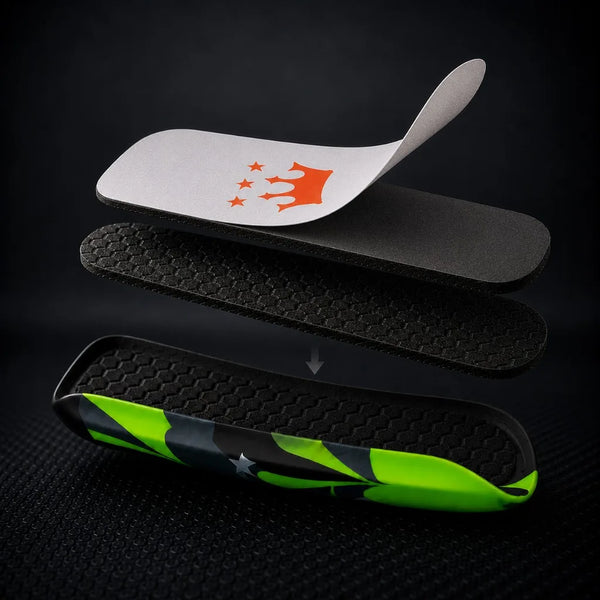
Go
Once solidified and set, the pad locks into your exact contour — add the shock-absorbing insert.
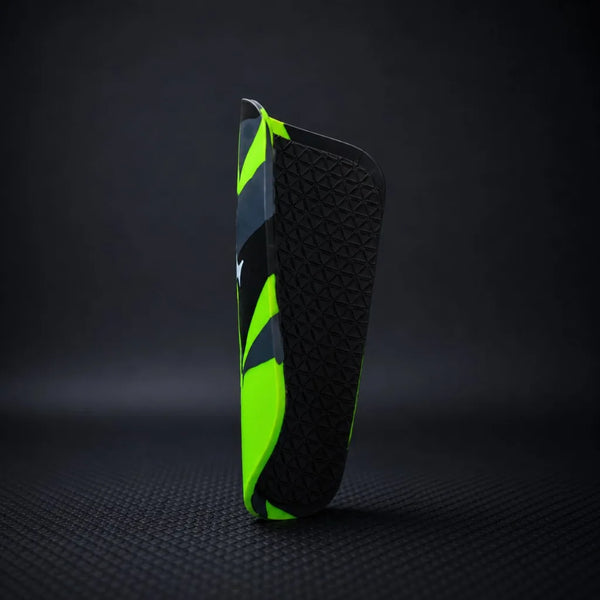
A few key things to know
- Mould one at a time.
- For max protection, add a shock-absorbing insert after moulding.
- This becomes permanently attached, so you can NOT re-mould again.
03
FAQ
Common Moulding Questions.
Everything players ask before their first heat — and the answers that get them locked in on the first try.
01 What water temperature should I use?
Around 80°C — just off the boil. Submerge the pad for 2 minutes until it turns translucent and feels fully pliable. Don't use boiling water directly from the kettle; let it sit for 30 seconds first.
02 How long until the pad is fully set?
Heat the shin guard for 2 minutes first. Then use a light press on your shin until the pad has solidified.
03 Can I re-mould the pads if the fit isn't right?
Yes. Re-heat the shin guard and remould if the fit needs adjusting. Once you add the shock-absorbing insert, it becomes permanently attached and cannot be remoulded.
04 Will the pads lose their shape in hot weather or in my car?
No. The polymer's glass transition is 62°C — well above any ambient temperature. They only soften in hot water, so a hot kit bag or sunny dashboard won't affect them.
05 How do I clean them after a match?
Wipe down with a damp cloth and mild soap, then air-dry. Don't put them in a tumble dryer or near a radiator — direct dry heat above 60°C can start to soften the shell.
06 What if they don't fit my shin shape on the first try?
Re-mould. Most players get the perfect contour by their second attempt. Make sure the pad is fully pliable before pressing, and use a light press along the full length of your shin until it has solidified — not just the centre.


